The archive

All Battles

9 chronicles spanning from 490 BC to the modern era — maps, commanders, forces and tactical analysis for every engagement. Filter by era below.
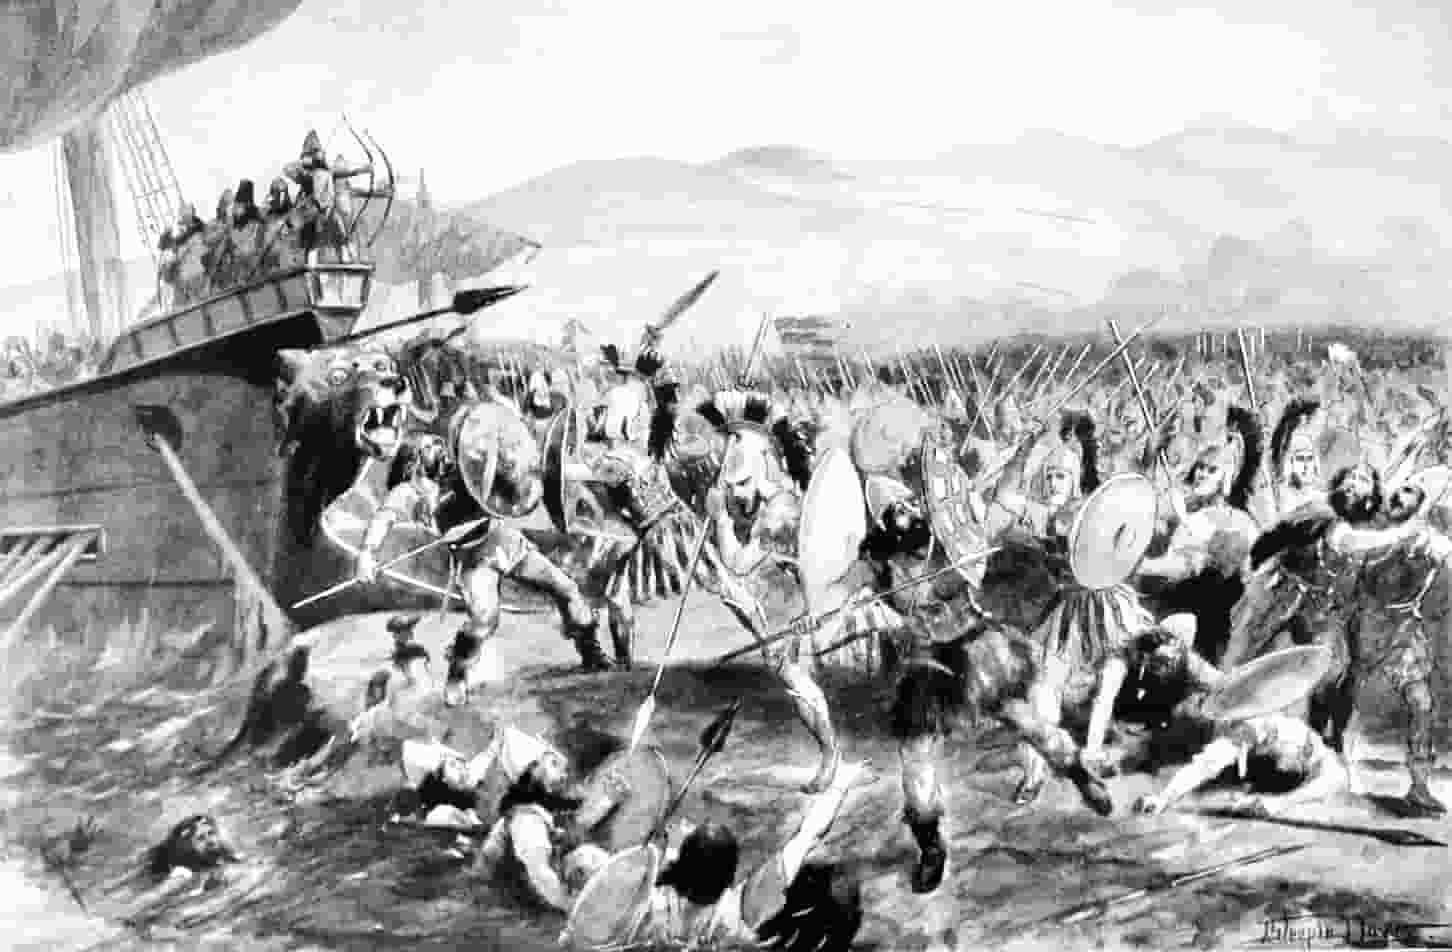
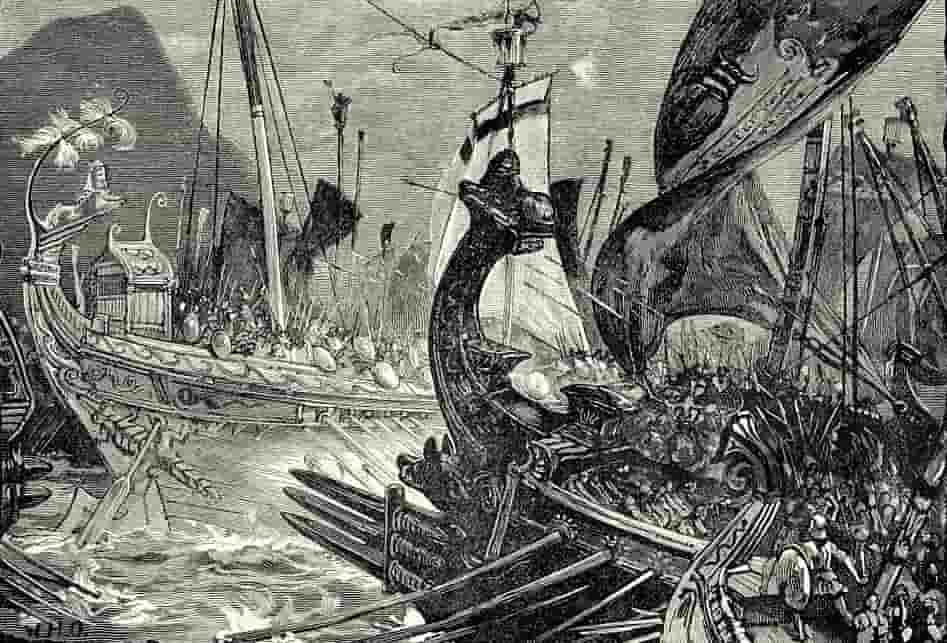
Battle of Thermopylae  (480 BC) — Greece
ANCIENT

Battle of Thermopylae

480 BC

The Battle of Thermopylae (480 BC) was a three‑day clash during the second Persian invasion of Greece, where a massive army led by King Xerxes I was held up by a much smaller Greek force under King Leonidas of Sparta. Why did Xerxes fail to break the pass at first? The Persians were funneled into a narrow coastal corridor between mountain and sea, where their huge numbers, cavalry, and archery could not be used to full effect. Greek hoplites fighting in tight phalanx formation behind a repaired wall turned the pass into a controlled killing ground, allowing them to repulse repeated frontal assaults—including attacks by the elite Immortals—with heavy Persian casualties.

Read chronicle →
Battle of Salamis (480 BC) — Greece
ANCIENT

Battle of Salamis

480 BC

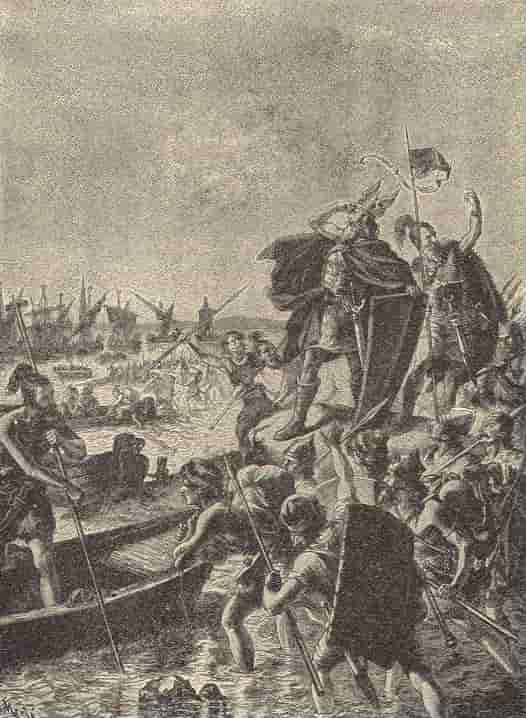
The Battle of Salamis was important because it was the decisive naval victory that halted the Persian invasion of Greece in 480 BC, preventing Persian domination of the Mediterranean and allowing Greek civilization—and Western culture—to flourish. The Battle of Salamis (September 480 BC) was a naval engagement between an alliance of Greek city-states and the Achaemenid Persian Empire under King Xerxes I. What were the forces involved? The Greek fleet consisted of about 370 ships under Athenian leader Themistocles and Spartan commander Eurybiades, facing a Persian fleet of about 700 ships commanded by Xerxes I, with admirals including Ariabignes and Queen Artemisia I of Caria. What was the Greek strategy? Themistocles lured the much larger Persian fleet into the narrow straits between Salamis Island and the Athenian port of Piraeus, where Persian numerical superiority became a disadvantage and Greek triremes could exploit their superior maneuverability and seamanship. How did Xerxes respond? The Persian king watched from the shore as his fleet was drawn into the confined waters, where they became disorganized and vulnerable to coordinated Greek attacks. What was the outcome? The Greeks sank over 200 Persian vessels while losing only around 40 of their own, forcing Xerxes to retreat to Asia and abandon his invasion plans, marking a turning point in the Greco-Persian Wars that preserved Greek independence and enabled the rise of Athens as a naval power.

Read chronicle →
Battle of Cannae (216 BC) — Italy
ANCIENT

Battle of Cannae

216 BC

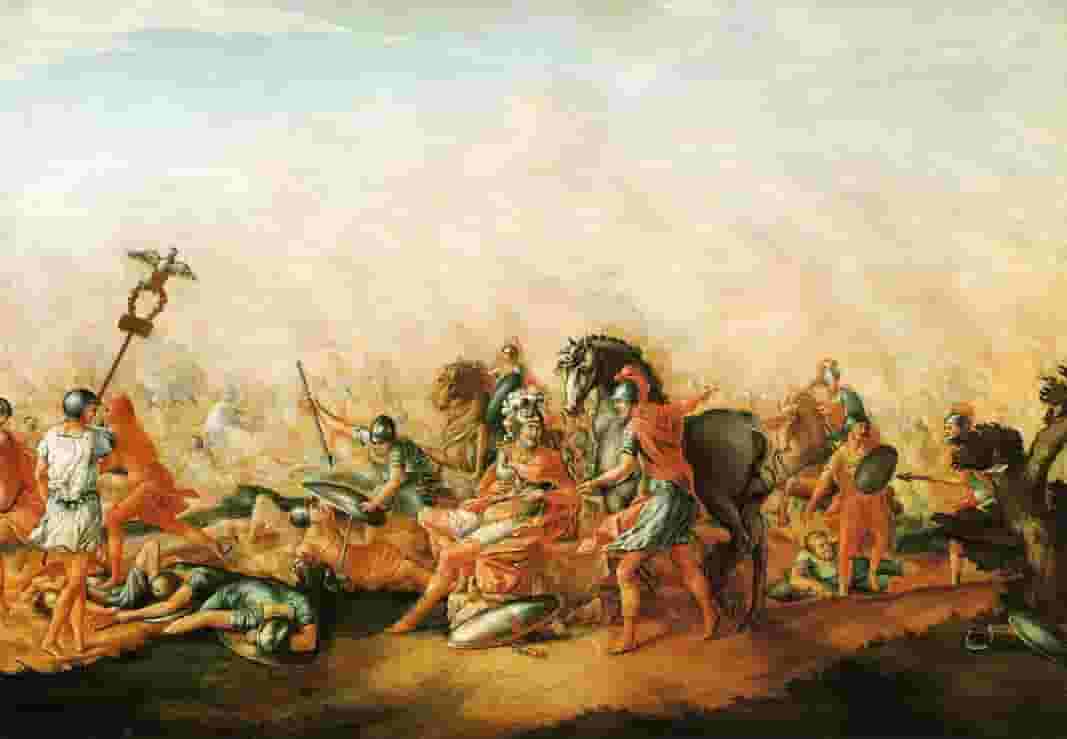
Hannibal won the Battle of Cannae through brilliant use of the double envelopment tactic, deliberately weakening his center to lure the Romans forward while his superior cavalry crushed the Roman wings and returned to attack from behind, completely surrounding and annihilating the larger Roman army. The Battle of Cannae (August 2, 216 BC) was fought between a Carthaginian army under Hannibal Barca and a much larger Roman force led by Consuls Lucius Aemilius Paullus and Gaius Terentius Varro during the Second Punic War. What was Hannibal's strategy? Hannibal positioned his weakest infantry in the center in a convex formation that would gradually fall back under Roman pressure, while placing his strongest Libyan infantry on the wings and his superior cavalry on both flanks to defeat the Roman cavalry and return to attack the Roman rear. How did the Romans respond? The Romans massed their heavy infantry in an unusually deep formation, confident that their numerical superiority would overwhelm the Carthaginian center, but as they pushed forward they became increasingly compressed and unable to maneuver effectively. What was the outcome? The Carthaginian cavalry defeated both Roman cavalry wings and returned to encircle the Roman infantry from behind, while the Libyan infantry on the wings closed in from the sides, trapping approximately 50,000-70,000 Romans in a tightening pocket where they were systematically slaughtered, with only about 15,000 escaping—making Cannae the deadliest single day in ancient military history and Hannibal's greatest tactical masterpiece.

Read chronicle →
Battle of Hastings (1066 AD) — England
MEDIEVAL

Battle of Hastings

1066 AD

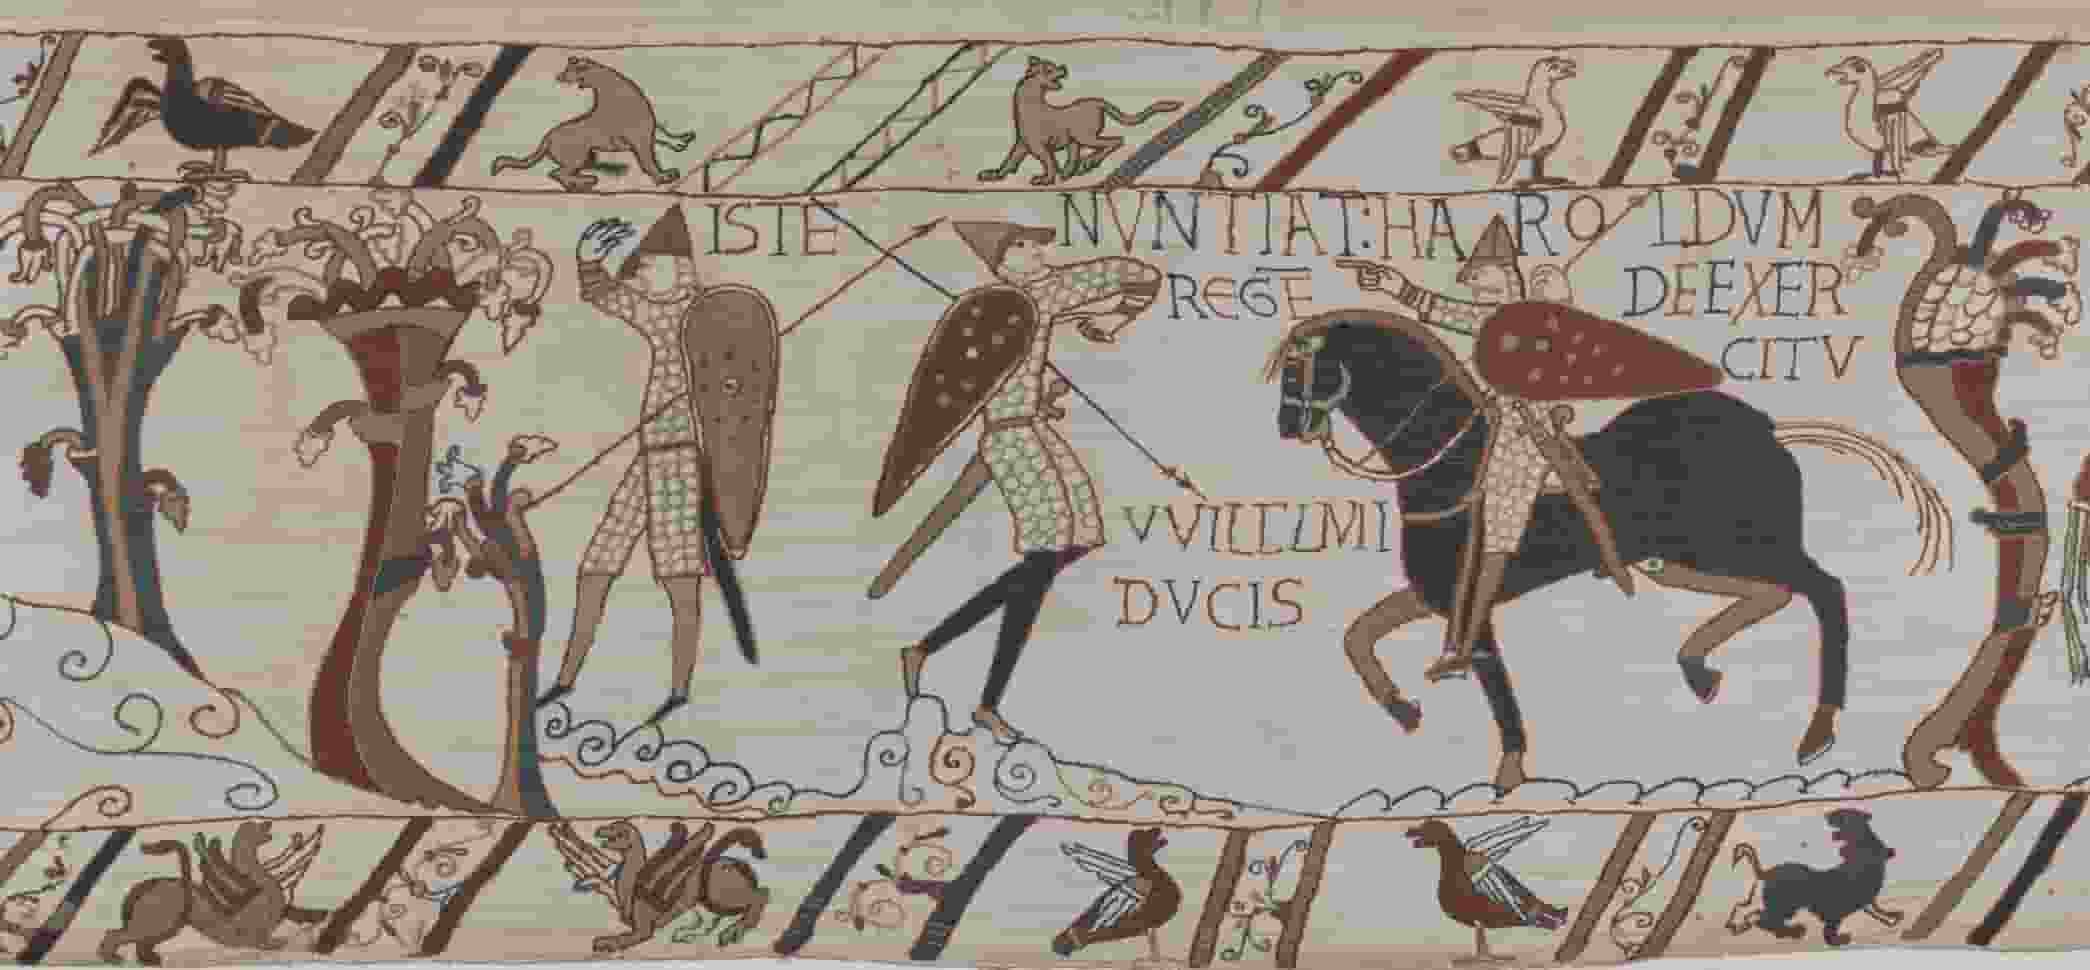
William won the Battle of Hastings due to superior tactics, better army organization, and King Harold's critical mistakes—including his rushed march from Stamford Bridge and the breakdown of the English shield wall. The Battle of Hastings (October 14, 1066) was a decisive Norman victory that established William, Duke of Normandy, as the ruler of England. What was William's strategy? William used combined-arms tactics, coordinating archers, infantry, and cavalry to break the English shield wall through repeated charges and feigned retreats that lured Anglo-Saxon troops from their defensive positions. How did Harold respond? King Harold Godwinson positioned his army on Senlac Hill in a strong defensive formation, but his forces were exhausted from marching 240 miles north to defeat Harald Hardrada at Stamford Bridge just weeks before. What was the outcome? After a full day of fighting, Harold was killed (traditionally said to be by an arrow through the eye), the English army collapsed, and William was crowned King of England on Christmas Day 1066, beginning the Norman Conquest.

Read chronicle →
Battle of Agincourt (1415 AD) — France
MEDIEVAL

Battle of Agincourt

1415 AD

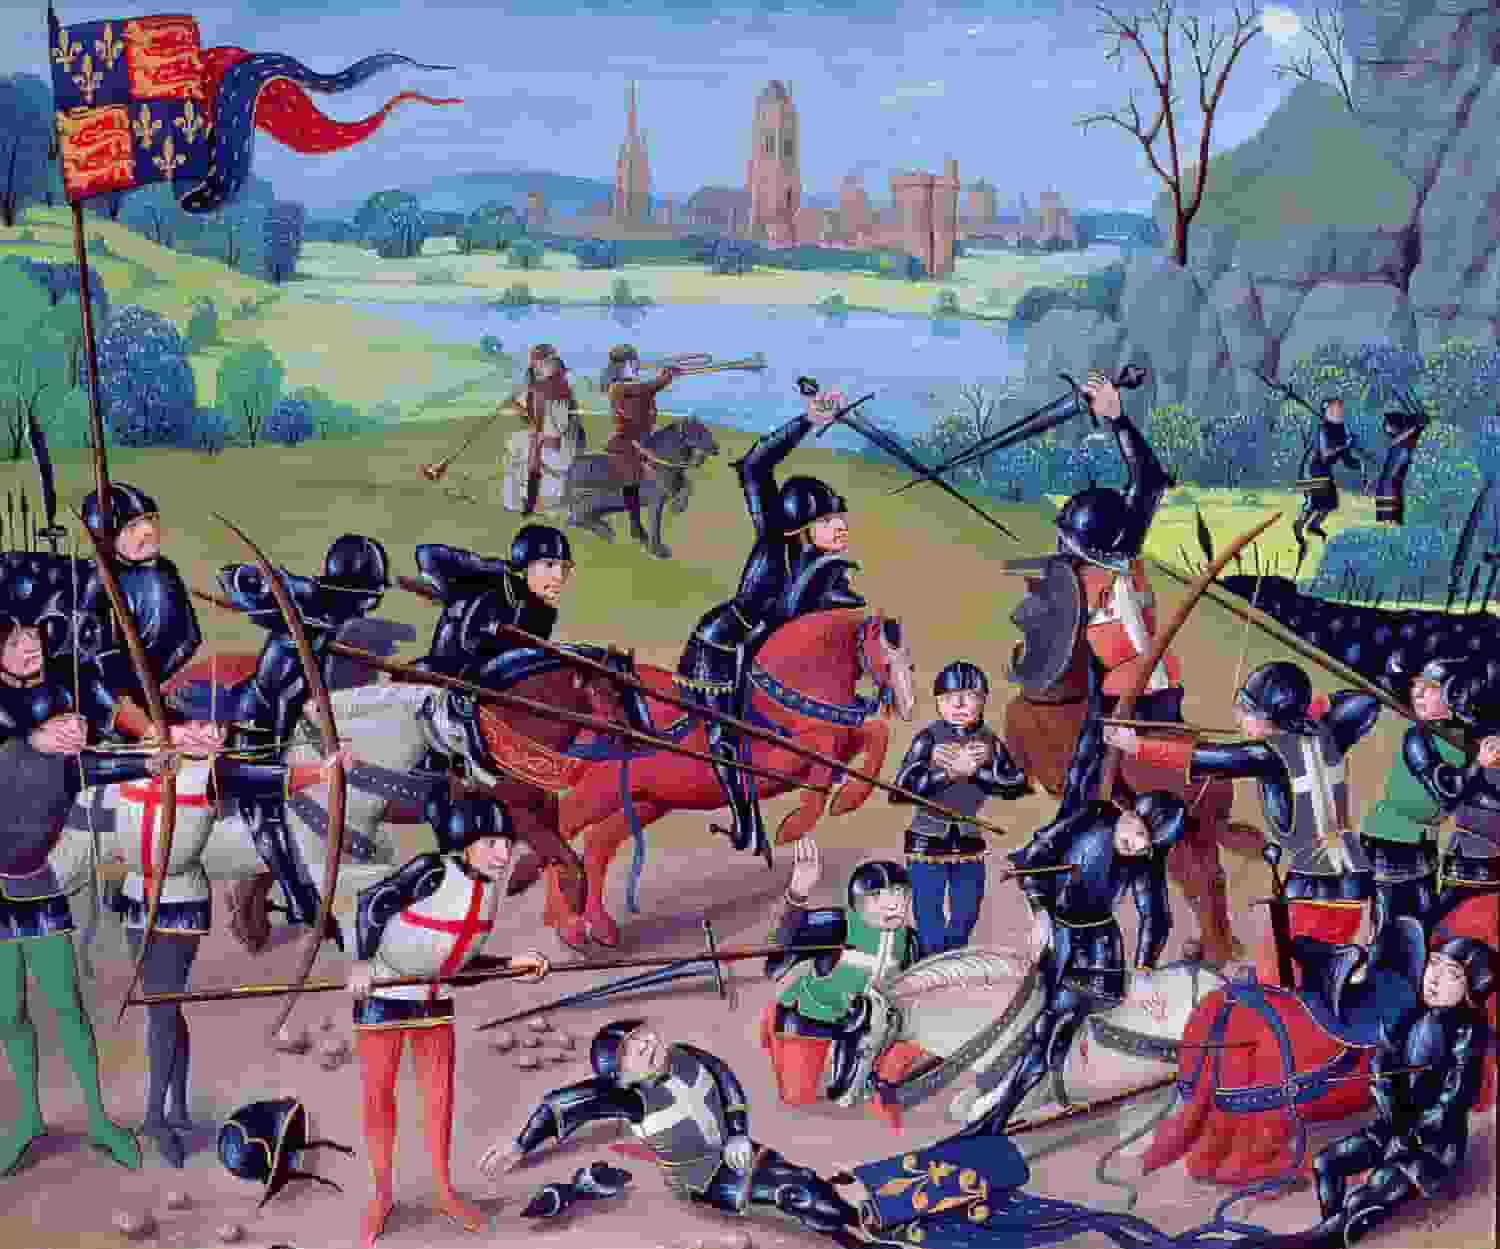
England won the Battle of Agincourt due to the devastating effectiveness of the English longbow, superior tactical positioning on muddy terrain, and critical French mistakes including overconfidence, poor coordination among commanders, and the inability to adapt to English defensive tactics. The Battle of Agincourt (October 25, 1415) was fought between an English army under King Henry V and a much larger French force during the Hundred Years' War. What was the English strategy? Henry V positioned his army on a narrow, recently plowed field bounded by woods, placing his men-at-arms in the center flanked by wedges of longbowmen who drove sharpened wooden stakes into the ground to protect against cavalry charges. How did the French respond? The French launched repeated frontal assaults with heavily armored knights across muddy terrain that severely impeded their movement, while their commanders failed to coordinate attacks or learn from previous English victories at Crécy and Poitiers. What was the outcome? The English longbowmen inflicted devastating casualties on the French ranks before close combat began, and when the French finally reached the English line, their exhausted, mud-bogged forces were unable to overcome the disciplined English defense, resulting in a decisive English victory that paved the way for further English advances in France including the capture of Calais.

Read chronicle →
Battle of Neerwinden 1693 (1693 AD) — Belgium
EARLY MODERN

Battle of Neerwinden 1693

1693 AD

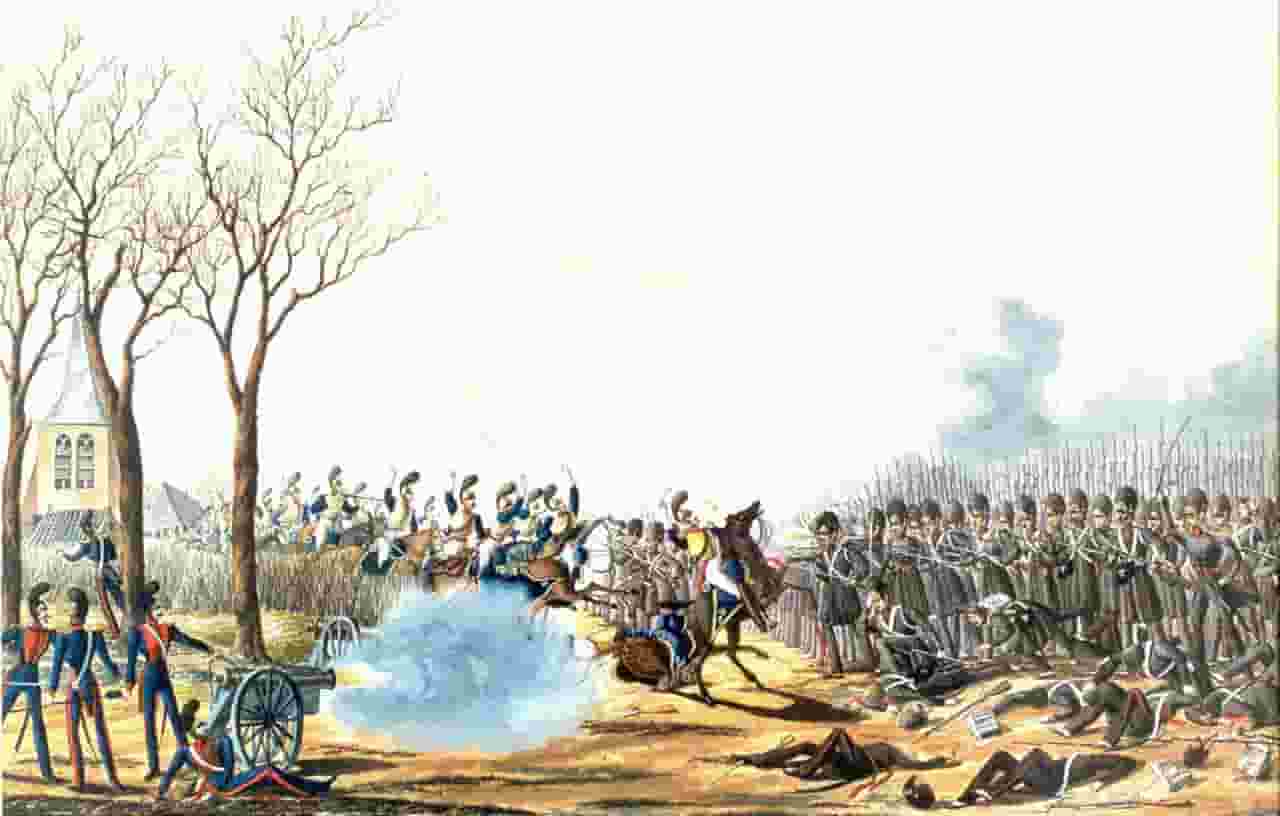
The Battle of Neerwinden (1693) was a French victory during the Nine Years' War, when Marshal Luxembourg's larger army broke through William III's fortified defensive line near the village of Neerwinden. What was Luxembourg's strategy? He pinned the Allied centre and left with supporting attacks while massing the bulk of his infantry and artillery against Neerwinden and Laar on the Allied right, planning to smash a gap in the earthworks and send his waiting cavalry through it. How did William respond? Trapped with the Little Gete River at his back, William fortified the villages along his line overnight with trenches, barricades, and earthworks, holding Neerwinden and Laar at all costs to protect his only line of retreat. What was the outcome? After hours of close-quarters fighting for the fortified villages, the French finally broke the Allied right, forcing William to withdraw his battered army across the river in one of the bloodiest battles of the war.

Read chronicle →
Battle of Feldkirch (1799 AD) — Austria
NAPOLEONIC

Battle of Feldkirch

1799 AD

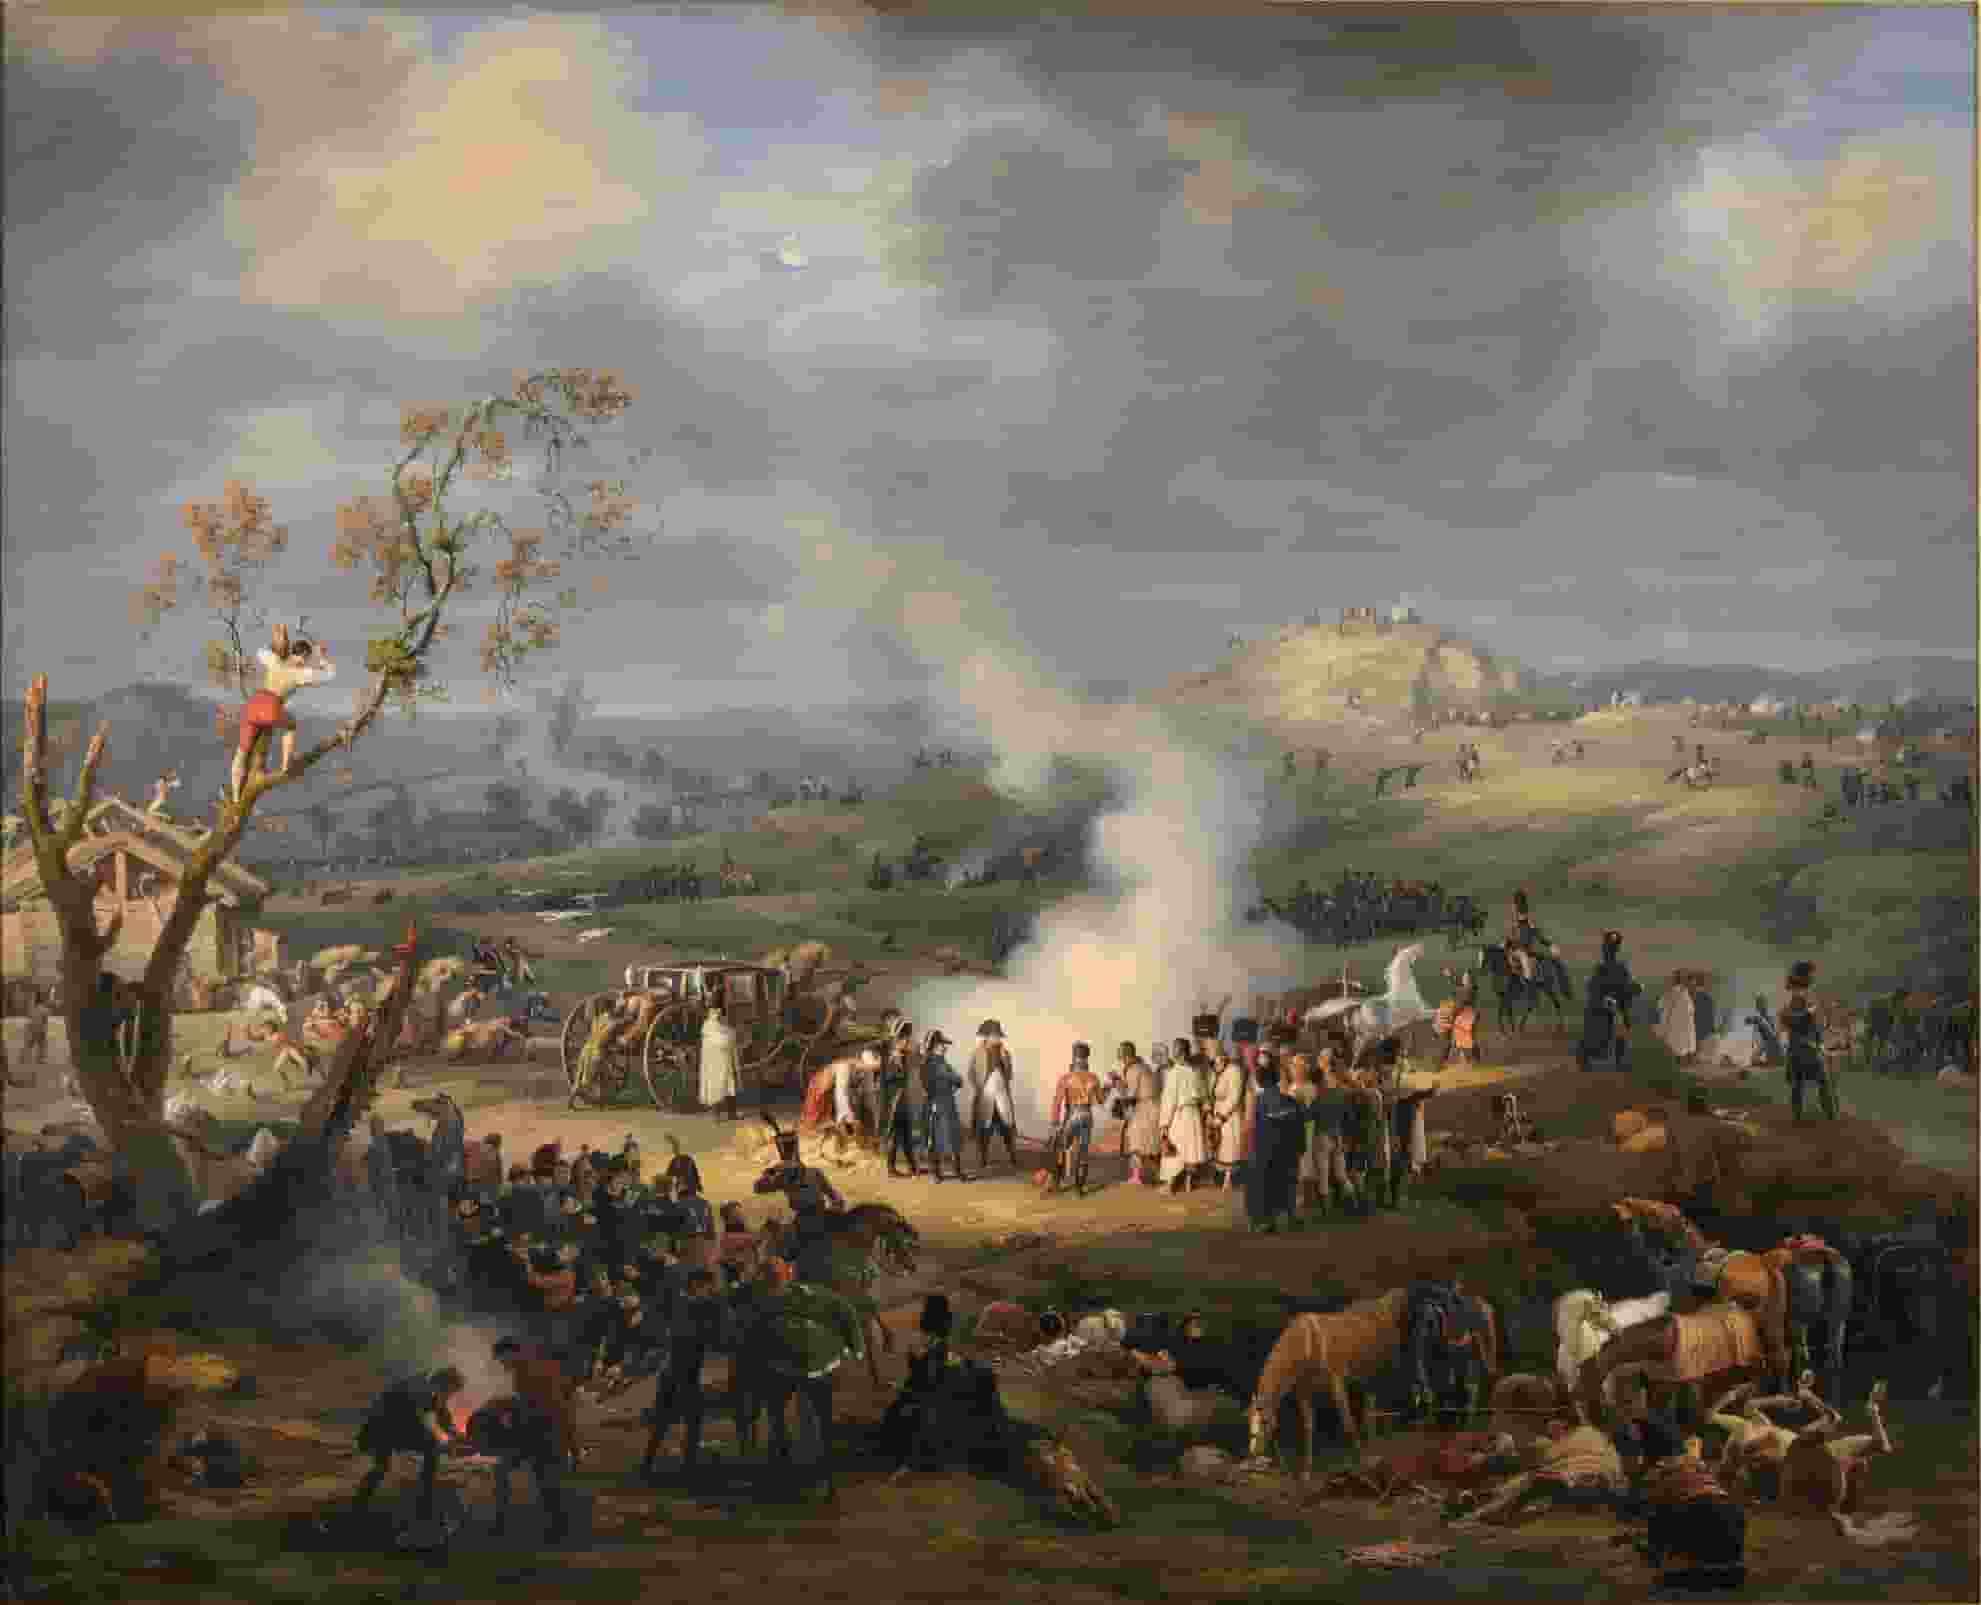
The Battle of Feldkirch (March 22–23, 1799) was a striking Austrian victory during the War of the Second Coalition, where a heavily outnumbered force of 4,000 defenders under Friedrich von Hotze and Franz Jelačić repulsed over 18,000 French troops led by André Masséna. Why did France lose? France failed to break the Austrian lines primarily due to the rugged, narrow mountainous terrain, heavily fortified defensive positions, and high-ground advantage held by the garrison. Masséna launched repeated direct assaults against dug-in positions, resulting in critical tactical bottlenecks for the French infantry. What was the outcome? The Austrians held their ground, inflicting over 2,200 casualties on the French while suffering only a few hundred themselves, forcing Masséna into a costly tactical retreat.

Read chronicle →
Battle of Verdun (1916 AD) — France
GREAT WAR

Battle of Verdun

1916 AD

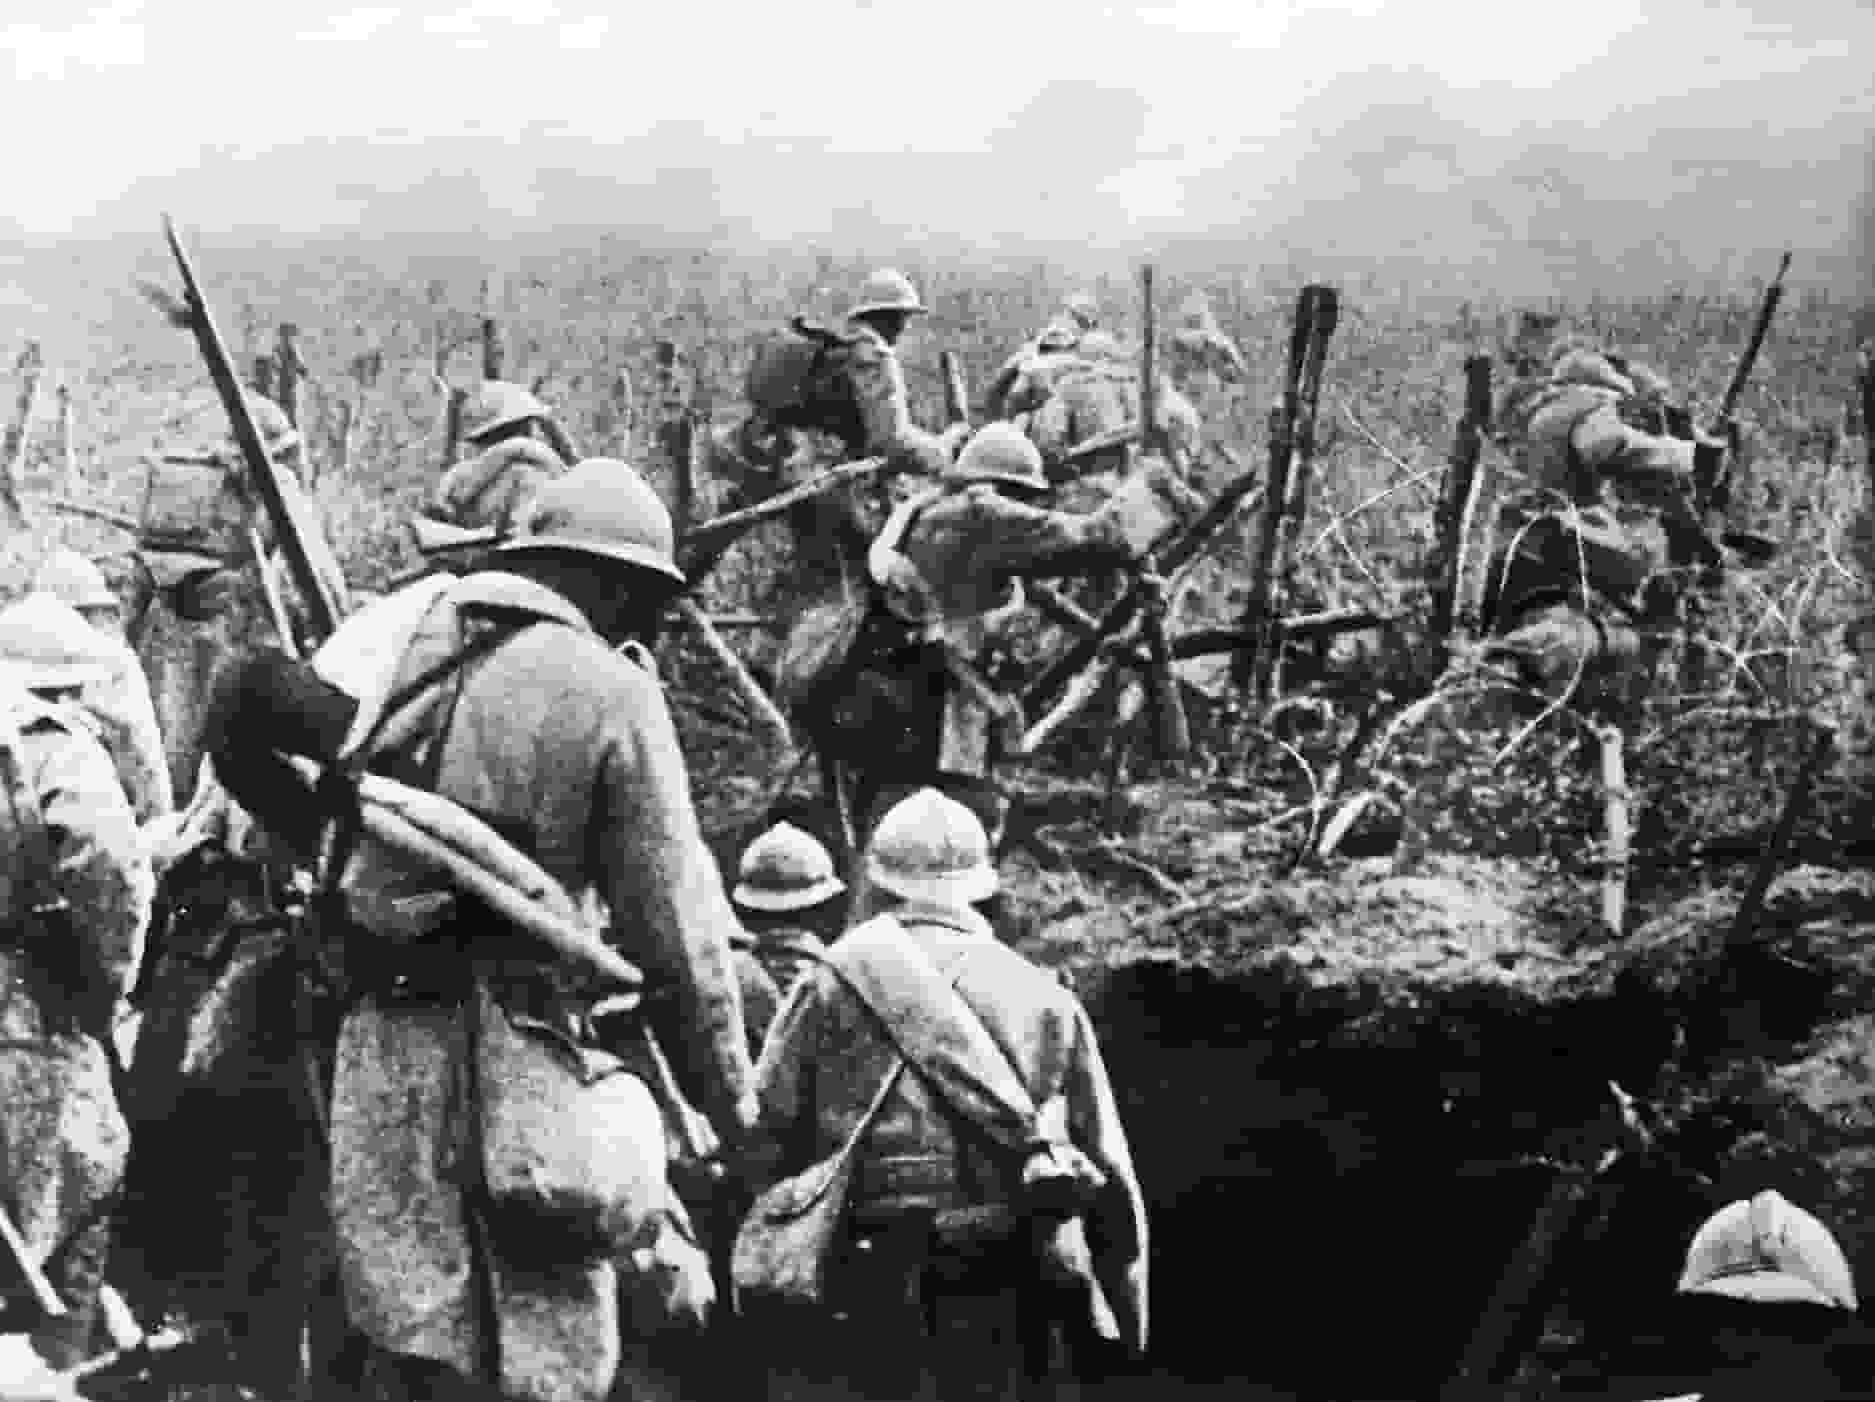
"Bleed France white" was German General Erich von Falkenhayn's strategy at the Battle of Verdun in 1916. Instead of trying to capture the fortress town, Falkenhayn planned to inflict massive casualties on the French army until their manpower and morale were exhausted. The Battle of Verdun (February 21 – December 18, 1916) was the longest battle in modern history, lasting 300 days and resulting in over 700,000 casualties between French and German forces. What was Germany's strategy? General Erich von Falkenhayn aimed to "bleed France white" by attacking the symbolic fortress town of Verdun, forcing France to defend it at any cost through attrition rather than seeking a decisive breakthrough. How did France respond? Under commanders Philippe Pétain and later Robert Nivelle, the French maintained supply lines via the "Voie Sacrée" (Sacred Road) and

Read chronicle →
Battle of Midway (1942 AD) — United States of America
WWII

Battle of Midway

1942 AD

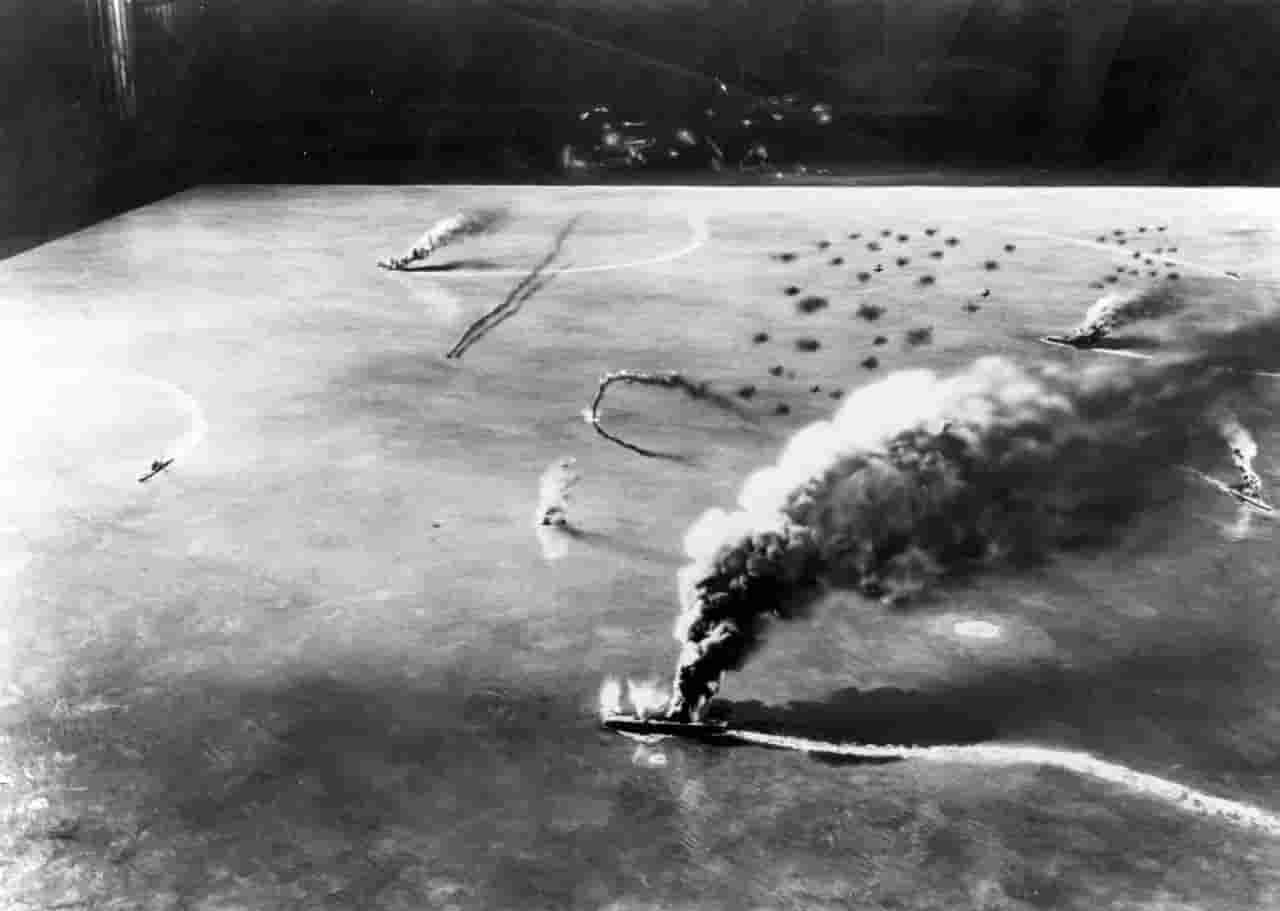
Japan lost the Battle of Midway due to broken code intelligence, overextended naval forces, and a decisive surprise attack that crippled their fleet. The Imperial Japanese Navy launched an operation against Midway Atoll aiming to draw out and destroy the U.S. Pacific Fleet, but divided their forces across too vast an area. American codebreakers intercepted and decrypted Japan's plans, allowing U.S. forces to set an ambush instead. During the battle, Japanese carriers were caught off guard with flight decks cluttered with fuel and munitions while attempting to rearm their aircraft. American dive bombers struck three Japanese fleet carriers in a span of five minutes, followed by a fourth later that afternoon. Stripped of their core carrier force, the Japanese were forced to retreat, losing their strategic advantage and permanently turning the tide of the Pacific War in favor of the Allies.

Read chronicle →